
 ">WeChat
FFmpeg It is the most common open-source software for video processing. This tool plays a number of ways across platforms to handle complex tasks in combination with programming python languages. FFmpeg itself is a large project that contains many components and library files, its command line tools are most commonly used. This paper describes how FFmpeg command lines deal with videos more succinctly and efficiently than desktop video-processing software.Official documents Finish installation first.
I. CONTEXT
Before introducing the FFmpeg usage, some basic concepts of video processing needed to be understood.
1.1 Containers
The video file is in itself a container (container), which includes videos and audio, as well as possibly other features such as subtitles. Common packaging formats include the following.
- MP4
- MKV
- WebM
- AVI
The following command looks at the container supported by FFmpeg.
$ ffmpeg -formats
1.2 Coding format
Videos and audio need to be coded in order to be saved into a file. Different coding formats (CODEC) have different compression rates, leading to differences in file size and clarity.
- H.262
- H.264
- H.265
The code format above is copyrighted, but free of charge. In addition, there are several uncopyable video-coding formats.
- VP8
- VP9
- AV1
The usual audio coding format is as follows.
- MP3
- AAC
All of this is a damaged coding format, which loses some detail in exchange for the smaller file volume. The undamaged coding format compresses larger files and is not presented here. The following commands look at FFmpeg-supported code formats, video and audio codes both inside.
$ ffmpeg -codecs
1.3 Encoder
Encoders (encoders) are the repository file for some type of code format. Only if a certain format encoder is installed can it be coded and decoded for video/audio. The following are some of the FFmpeg-enabled video encoders.
- libx264: Most popular open source H264 encoder
- NVENC: H.264 encoder based on NVIDIA GPU
- libx265: Open Source HeVC Encoder
- libvpx: Google VP8 and VP9 encoders
- liboom: AV1 encoder
The audio encoder is as follows.
- libfdk-aac
- aac
The following command is to view the encoder that FFmpeg has installed.
$ ffmpeg -encoders
The website has been updated!
https://www.gyan.dev/ffmpeg/builds/
Links Click to download the link below
https://www.gyan.dev/ffmpeg/builds/ffmpeg-git-full.7z

SHA256: 11593ce8bd4bc832e6bf261af717493edeed1be7cbd829a3a6b92cd48ea9cacc
2. Depression to a given directory (director can be changed, e.g. decompressed D-discretion directory ffmpeg folder: Environment variable F:\ffmpeg\bin) and then add bin file directories to the path of path (Computer- Properties-Advanced System Settings-Environmental Variable-Path-New)


Command line (windows+r input cmd) entered: ffmpeg-version shows the following interface to indicate successful installation:


II. ffmpeg Introduction to simple use
1. Video format conversion:ffmpeg -i num.mp4 -codec copy num2.avi
Copying and converting num.mp4 to num2.avi Note: -i, a file that indicates an operation 2.gif produces:ffmpeg -i num.mp4 -vframes 20 -y -f gif num3.gif
The first 20 frames of num.mp4 are made gif and named num3 3. Video intercept:ffmpeg -i num.mp4 -ss 0 -t 3 -codec copy cut1.mp4
Post-ss numbers indicate the time of interception, post-t numbers means the length of interception.ffmpeg -i num.mp4 -y -f image2 -ss 2 -t 0.001 -s 400x300 pic.jpg
A photo of a person named Pic.jpg, 400×300 at 2s (the number after–s is the time of interception) was intercepted and one image per second:ffmpeg -i num.mp4 -r 1 image%d.jpg
Intercept a picture every second and name it imagei.jpg(i=1,2,3…) Note: -r numbers indicate how often to intercept one
II. FORMAT FOR USE OF FFmpeg
The FFmpeg command line has a very large number of parameters that can be divided into five parts.
$ ffmpeg {1} {2} -i {3} {4} {5}
In the above order, the parameters for each of the five parts are as follows.
- Global parameters
- Input File Parameters
- Input File
- Output file parameters
- Output File
ffmpeg commands can be written in multiple rows for ease of view when the parameters are too large.
$ ffmpeg \
[全局参数] \
[输入文件参数] \
-i [输入文件] \
[输出文件参数] \
[输出文件]
The following is an example.
$ ffmpeg \
-y \ # 全局参数
-c:a libfdk_aac -c:v libx264 \ # 输入文件参数
-i input.mp4 \ # 输入文件
-c:v libvpx-vp9 -c:a libvorbis \ # 输出文件参数
output.webm # 输出文件
The command above converts the mp4 file into a webm file, both of which are in container format. The audio encoding format for the mp4 file is aac and the video coding format is H.264; the video encoding format for the output Webm file is VP9 and the audio format is Vorbis. If no code format is specified, FFmpeg will judge itself to enter the file ‘ s encoding. Therefore, the command above can be simply written as below.
$ ffmpeg -i input.avi output.mp4
III. Common command line parameters
The command line parameters commonly used by FFmpeg are as follows.
-c: Specified encoder-c copy: Direct copying, without re-coding (so quickly)-c:v: Specified video encoder-c:a: Assign audio encoder-i: Specified input file-an: Remove audio stream-vn: Remove the stream-preset: Specifies the video quality of the output, which affects the speed at which a file is generated.-y: The same name file is directly overwrited when the output is not confirmed.
IV. Common use
The following is a few common usages of FFmpeg.
4.1 View file information
View metadata of video files, such as coding formats and bitrates, which can be used only-iargument.
$ ffmpeg -i input.mp4
The commands will output a lot of redundant information, plus-hide_bannerargument, you can show only meta information.
$ ffmpeg -i input.mp4 -hide_banner
4.2 Conversion of code format
Converting a coded format (transcoding) means converting video files from one code to another. For example, moving to an H264 code, usually using the encoderlibx264, so just specify the video encoder for the output file.
$ ffmpeg -i [input.file] -c:v libx264 output.mp4
The following is the writing of the H.265 code.
$ ffmpeg -i [input.file] -c:v libx265 output.mp4
4.3 Conversion of packaging formats
Converts the container format (transmuxing) to transfer video files from one packaging to another. The mp4 spin webm is used below.
$ ffmpeg -i input.mp4 -c copy output.webm
In the example above, it’s just a transfer of containers. The internal coding format is unchanged, so use it.-c copySpecifies the direct copy, without passing the code, which is faster.
4.4 Adjustment rate
The adjustment rate (transrating) refers to the bitrate that changes the code and is generally used to make video files smaller in volume. The following example specifies a minimum number rate of 964 K, a maximum of 3856 K, and a buffer zone size of 2000K.
$ ffmpeg \
-i input.mp4 \
-minrate 964K -maxrate 3856K -bufsize 2000K \
output.mp4
4.5 Change resolution (transsizing)
The following is an example of a change in video resolution from 1080 p to 480p.
$ ffmpeg \
-i input.mp4 \
-vf scale=480:-1 \
output.mp4
4.6 Sound extraction
Sometimes audio (demuxing) needs to be extracted from the video and can be written as follows.
$ ffmpeg \
-i input.mp4 \
-vn -c:a copy \
output.aac
In the above example,-vnThe video was removed.-c:a copyindicates that the audio code is not changed, and is directly copied.
4.7 Add Tracks
Adding a track (muxing) means adding an external audio to the video, for example by adding background music or narrating.
$ ffmpeg \
-i input.aac -i input.mp4 \
output.mp4
In the example above, there are two input files — audio and video — that FFmpeg will merge into one file.
4.8 Interception
The following is an example of a one-second series of video intercepts starting at the specified time.
$ ffmpeg \
-y \
-i input.mp4 \
-ss 00:01:24 -t 00:00:01 \
output_%3d.jpg
If only one chart is required, you can specify that only one frame will be taken.
$ ffmpeg \
-ss 01:23:45 \
-i input \
-vframes 1 -q:v 2 \
output.jpg
In the above example,-vframes 1It is clear that the government will not be able to stop this situation.-q:v 2This indicates that the quality of the images exported is generally between 1 and 5 (1 being the highest).
4.9 Crop
Cutting means taking a clip from the original video and output it as a new video. You can specify the start time (start) and duration (duration), or end time (end).
$ ffmpeg -ss [start] -i [input] -t [duration] -c copy [output]
$ ffmpeg -ss [start] -i [input] -to [end] -c copy [output]
The following are practical examples.
$ ffmpeg -ss 00:01:50 -i [input] -t 10.5 -c copy [output]
$ ffmpeg -ss 2.5 -i [input] -to 10 -c copy [output]
In the above example,-c copyThis means that the coding format of audio and video is not changed, and it will be much faster to copy.
4.10 Adding cover to audio
Some video sites only allow the uploading of video files. If you want to upload audio files, you must add a cover page to the audio, turn it into a video and then upload it.
$ ffmpeg \
-loop 1 \
-i cover.jpg -i input.mp3 \
-c:v libx264 -c:a aac -b:a 192k -shortest \
output.mp4
Two input files and one cover picture of the above commandcover.jpgThe other one is audio files.input.mp3。-loop 1Parameters are the infinite circle of pictures.-shortestParameters mean that the audio file ends, and the output video ends. It is powerful, widely used, and much of it is used for video sites and commercial software (such as YouTube and iTunes), and many standard coding/decodes in audio and video formats have been achieved.
未经允许不得转载:萌萌Apprentissage » Windows install ffmpeg open-source video tool environment configuration, usage


 Python batches to extract mainstream search engine pictures
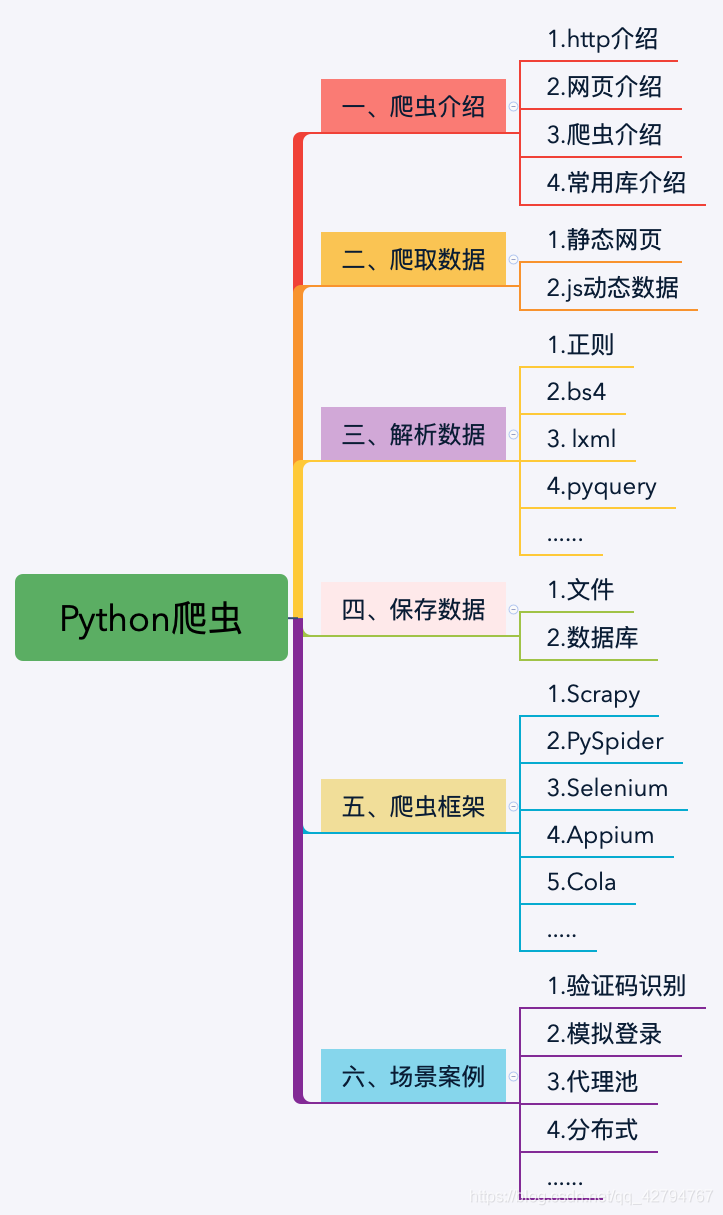 Python's word crawling across 100 degrees.
 PythonTaiichi Taipei Artificial Intelligence Tensoflow Graphic Processing
 Selenium with Tor Browser using Python
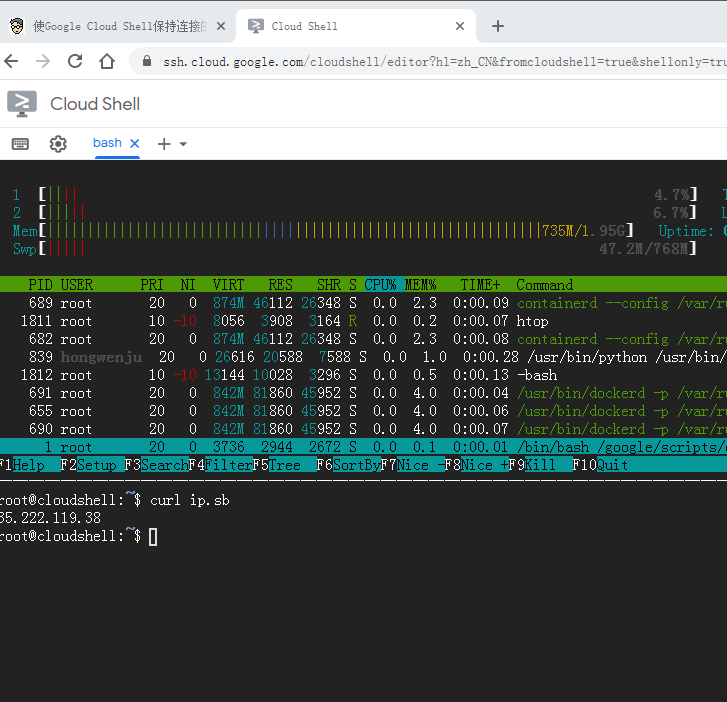 I'm gonna get you a new one, shell.cloud.google on the line.
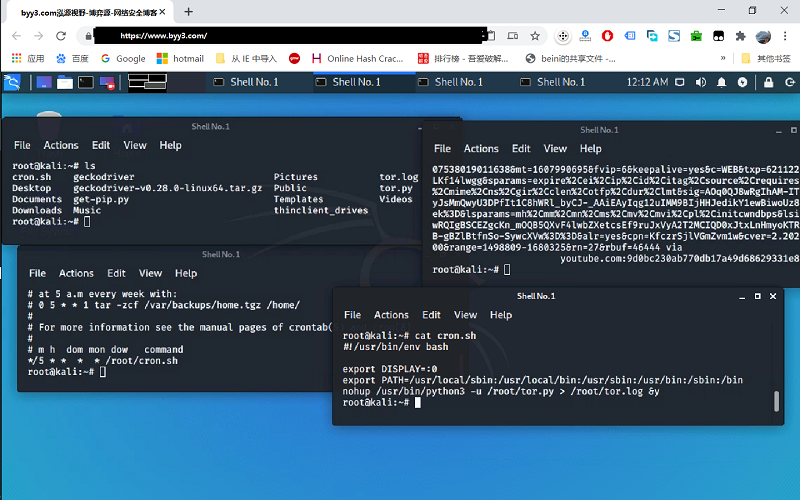 run crontab with python selenium tor browser display in linux
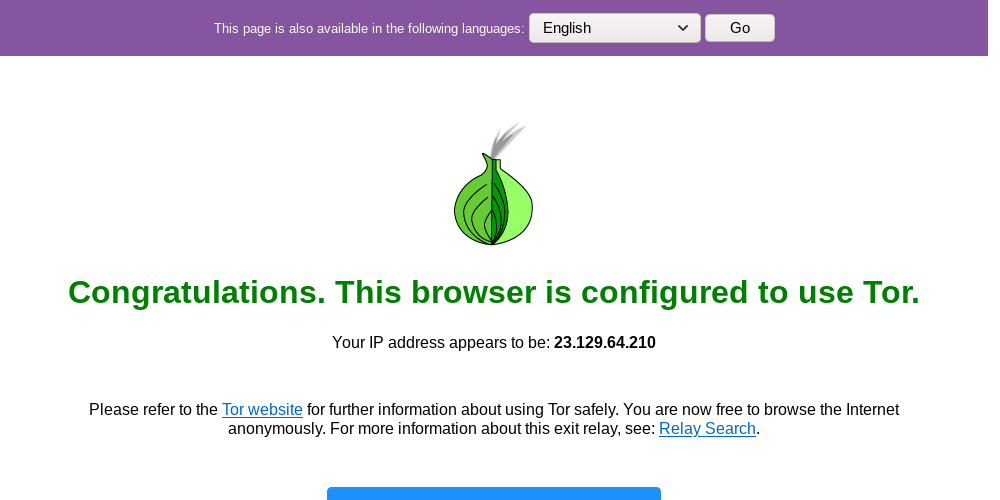 Lineux Environment Use python to call the ter browser random browser web page

